The Bacon & Thyme Meringue Master Class.
By Dan Surtees.
Egg foams & magic meringues
A brief history of meringues.
It’s been said that the foaming properties of egg whites where know long before cooks had the tools to fully exploit the egg proteins’ ability to form a cohesive structure. It wasn’t until the early in the 17th century that cooks started to use bundles of straw tied at one end and cut to the right length as a kind of proto-whisk and meringues and soufflés started to appear widely in cookbooks.
There’s some debate as to exactly where and when the meringue was invented; Larousse Gastronomique says the word comes from the Polish word marzynka and was invented by a chef in the service of King Stanislas 1, as far as I could make out that cook later became the Duke of Lorraine. Old King Stanislas must have bloody loved those meringues. Anyway, the King would later pass on the recipe onto his daughter who in turn introduced it to the French and Queen Marie Antoinette.
Others claim that it was invented by a Swiss pastry chef named Galasparini, who worked in a small German town called Meiringen. According to On Food and Cooking by Harold McGee a recipe for “meringues” had already been published in 1691 by French writer Massialot and the word meringue has been traced back to an alteration of the latin word merenda, meaning ‘light evening meal’ into ‘meringa’, a form that was found near what is now Belgium and meaning ‘traveler’s snack’. So, it’s all a little muddled as these things normally are.
Whatever the true origin, in time cooks began to use meringues and egg foams in many recipes and would eventually understand the science behind the miraculous transformation of runny white into stable foam.
A small science lesson on egg proteins.
Just like the foam on a cappuccino or the head on beer, a foam of egg whites is a liquid filled with air pockets. It’s a mass of air bubbles each with walls of a thin film of white. The chemical make-up and structure of those walls is what determines how long the foam will last before it starts leeching liquid. The strength in egg foams comes from the tendency of the egg proteins to unfold and bond to each other when placed under suitable levels of physical stress (before beating they are coiled up like springs and not bonded to each other).
This bonding of proteins reinforces the bubble walls and occurs as the stress of whisking the egg whites and the mixing of air into the liquid unfolds the coiled protein molecules. The unfolded proteins (ovotransferrin and the globulins) want to gather where the air and water molecules meet, with their respective water loving and water avoidant portions either immersed or projecting into the air. Because they concentrate in this way they readily form bonds with each other and so a network of continuous proteins holds both water and air in place and strengthens the whole structure of the foam.
These same forces can also have a detrimental effect on egg foams, if a foam is over-whisked the proteins bond to each other too tightly and start to force out the liquid they were holding between their bonds. When this happens the resulting foam will lose volume, become grainy and begin to separate into a dry froth and a runny liquid. There’s a lot going on inside that foam and there are several kinds of bonds happening, joining the long unfolded proteins to each other; there are bonds between water like parts, between positively and negatively charged parts of the molecules, between fat like parts and between sulphur molecules. The network of proteins will start to degrade and collapse when there are too many bonds and the proteins are too tightly clustered together. Luckily for us there are a few ways of preventing this sort of thing from happening by limiting the amount of bonds in albumen foams…

Copper & Sulphur bonds.
French Chefs as long ago as 1771 knew whisking egg whites in copper bowls would prevent the foam from destabilising, although it’s fair to assume the reasons behind it where beyond them. Fast forward and we now know as the cook whisks the egg white in a copper bowl the albumen protein ovotransferrin takes on copper molecules which are then incorporated into the foam. Copper, along with a very small number of other metals such as silver, has the tendency to form very strong bonds with reactive sulphur groups in the egg white. These bonds are so tight that the sulphur molecules can’t bond or react with anything else. This copper/sulphur reaction essentially eliminates and prevents the strongest natural protein bond that can form in the foam and by doing so makes it harder for the proteins to squeeze each other too tightly.
Fortunately, there is a non-metallic way around the problem of sulphur bonds if you (understandably) don’t have a copper or silver mixing bowl just laying around at home. The addition of acid to your foam will control the reactive sulphur. Sulphur bonds form when sulphur-hydrogen (S-H) groups on different protein molecules shed their hydrogen (H) and form a sulphur-sulphur (S-S) bond with each other. Adding acid gives a boost to the number of free hydrogen ions in the foam and makes it harder for the sulphur-hydrogen groups to shed their own hydrogen and by doing so slows down sulphur bonding. A good rule of thumb is 2ml of lemon juice or 0.5g of cream of tartar per egg white. Add at the beginning of beating for best results.

Enemies of egg foams.
There are four main enemies of egg foams -egg yolk, oil, fat and cleaning detergents. You should take care to use clean, dry equipment that has been properly rinsed and be careful when separating your egg whites as to not get any yolk in the bowl. They all affect the foam in the same way because they are chemical relatives and interfere with the foaming process by competing with protein molecules for places in the water-air interface without offering the structural strength of the protein bonds, and by directly interfering with the protein bonds themselves. It’s worth saying that traces of these won’t completely stop your foam from forming but it will take more work, will be less stable and will also be much heavier. Fats and yolks can be added safely to an already finished meringue and this the base of many other desserts such as mousses and soufflés.

The effects of sugar.
Adding sugar to an egg foam is what elevates it to silky meringue, as well as adding sweetness it improves the stability of the foam by absorbing water molecules and thickening the liquid; therefore slowing the drainage of water from the foams’ structure. Sugar also reinforces the meringue during the cooking process, but more on that later.
Sugar is best added after the albumen proteins have begun to unfold and bond and a foam has started to form. Adding sugar early in the mixing process or at the very beginning before any whisking has begun (as with Swiss meringue) will delay the foaming process and reduces the foams ultimate volume and lightness producing a denser, firmer foam. This is caused by the sugar interfering with the unfolding and bonding of the proteins in the whites.
The amount of sugar added also has a great effect on the final texture, density and stability of the meringue, the more sugar the meringue mixture contains the crispier and chewier it will be once baked. General proportions you’ll find are from a 1 : 1 ratio of sugar and whites for a lighter, more brittle meringue to around 2 : 1 for a denser, chewier meringue.
Granulated sugar and coarse brown sugars find it hard to completely dissolve in meringue and will leave a coarse texture and weep syrup when cooked. This isn’t totally without it’s uses however, and although granulated sugar is never recommended, replacing a small amount of white sugar with soft dark or light brown sugar and cooking your meringue at a slightly higher temperature can yield chewy crunchy goodness when making meringue for pavlovas and the like. It all depends on your preference at the end of the day, and I love a chewy meringue.
Icing sugar (or confectioner’s sugar) will help prevent leeching of syrup and gives a finer drier texture to the cooked meringue. It also contains up to 10% cornflour (cornstarch) which also absorbs liquid. It’s for this reason I use half caster and half icing sugar in my French meringue for kisses and nests.

Some brief notes on eggs, equipment and judging your meringue on appearance.
Old eggs vs fresh eggs.
Old eggs at room temperature are the usual recommendation for meringues, mainly because the a thinner, older, room temperature white will foam more rapidly. There are downsides though, an older white will be more alkaline and therefore make a less stable foam that will leech liquid more easily. It’s also more likely that the yolk will break during the separation and contaminate your egg white.
Fresh eggs straight from the fridge work fine. They offer a stronger foam and are easier to separate without damaging the yolk. Although they would be very hard to whisk by hand, if you are using a stand mixer or electric whisk the motion of the whisk will warm the egg whites quickly and you’ll barely notice it taking longer than the room temperature egg.
All eggs in recipes are large (or equivalent to 30g of egg white).
Use clean equipment.
As previously stated making sure your equipment is clean, dry and free from any oil or detergent is rule 1. If using a mixing bowl and hand whisk make sure your bowl is large enough to accommodate a eightfold increase in the volume of the eggs. Scaremongers will tell you avoid plastic bowls, and there is some reason for the caution; plastics are hydrocarbon relatives of fats, but as long as your bowl is clean and dry you will be fine. Preferably you’ll be making your meringues in a stand mixer or with an electric whisk. The motion of the stand mixer whisks the whites more evenly and therefore produces a lighter texture. Make sure to pre-heat your oven and have any piping bags, spoons, baking trays and mats you may need ready before you start.

Judging a foam by it’s cover.
There are various ways of telling when your foam is at its peak. From seeing how it supports itself, in loose mounds or in stiff and sharp peaks, wether it clings to the mixing bowl when turned upside down or wether the mixture looks dry and dull or sleek and glossy. These are all indicators of how well lubricated the air bubbles are by the liquid of the egg white.
A foam is said to be at the ‘soft peaks’ stage when the edges of the foam retain some shape but can’t support themselves and droop, when the foam has started to take on a glossy sheen and doesn’t yet stick to the inside of the mixing bowl. At this stage the air bubbles are still very well lubricated by the white which will drain to the bottom of the mixing bowl if not beaten further.
The next stage is ‘stiff peaks’ and at this stage the foam is approaching 90% air. The foam will be glossy, will cling to the mixing bowl and will hold a well defined edge or peaks. The liquid in the foam has now been spread so thin that the webs of proteins in adjacent bubble walls now cling to each other and the bowls’ surface. At this stage the foam still has enough lubrication to be easily mixed with other ingredients and is at the optimum point for adding to soufflé mixes and making mousses and the like.
Beyond the ‘stiff peak’ stage is ‘dry peaks’. At this stage the foam is very firm but will take on a dull dry look and a slightly crumbly consistency. It will begin to leak some liquid and will slide away from the edge of the mixing bowl again. This is because the bonds are now so tight they are forcing out the liquid that was separating them. Generally this stage is used to give the firmest foam for meringues and cookie batters.
Meet the Meringues
A very sweet family.

French
French meringue is an ‘uncooked’ meringue in the sense that the egg is not cooked before it goes into the oven. It can have a broad range of textures depending on when and how the sugar is added as well as the amount of sugar itself. It’s the quickest and easiest of the meringues to make and can be added to with ease to make flavoured or coloured meringues.
Great for quinelles, kisses, meringue nests and piping.
Click here for the recipe for French meringue.

Italian & Swiss
Both are ‘cooked’ meringues, Italian meringue being cooked by the addition of the sugar as a hot syrup during whisking and Swiss meringue where the eggs, sugar and acid are heated in a water bath and beaten until a stiff foam forms. These meringues are generally denser and firmer than uncooked meringues and because the egg is cooked can keep in the fridge for up to 4 days.
Great for decorating pastries, and as a component of mousses, bavarois and charlottes.
Click here for Italian meringue recipe.
Click here for Swiss meringue recipe.

Aquafaba
Aquafaba is the name given to the viscous cooking liquor left after cooking legumes, such as chickpeas. During the cooking process carbohydrates and proteins from the legumes transfer to the liquid and when cooled it can be whipped just like egg white! It can be used as an egg replacer in baking and for binding and thickening. 3 tablespoons of aquafaba is equivalent to 1 large egg white.
Great for vegan meringues, vegan pavlovas, and as an egg substitute.
Click here for Vegan aquafaba meringue recipe.
Mixing it up.
How to make the perfect meringues.
Throwing some shapes.
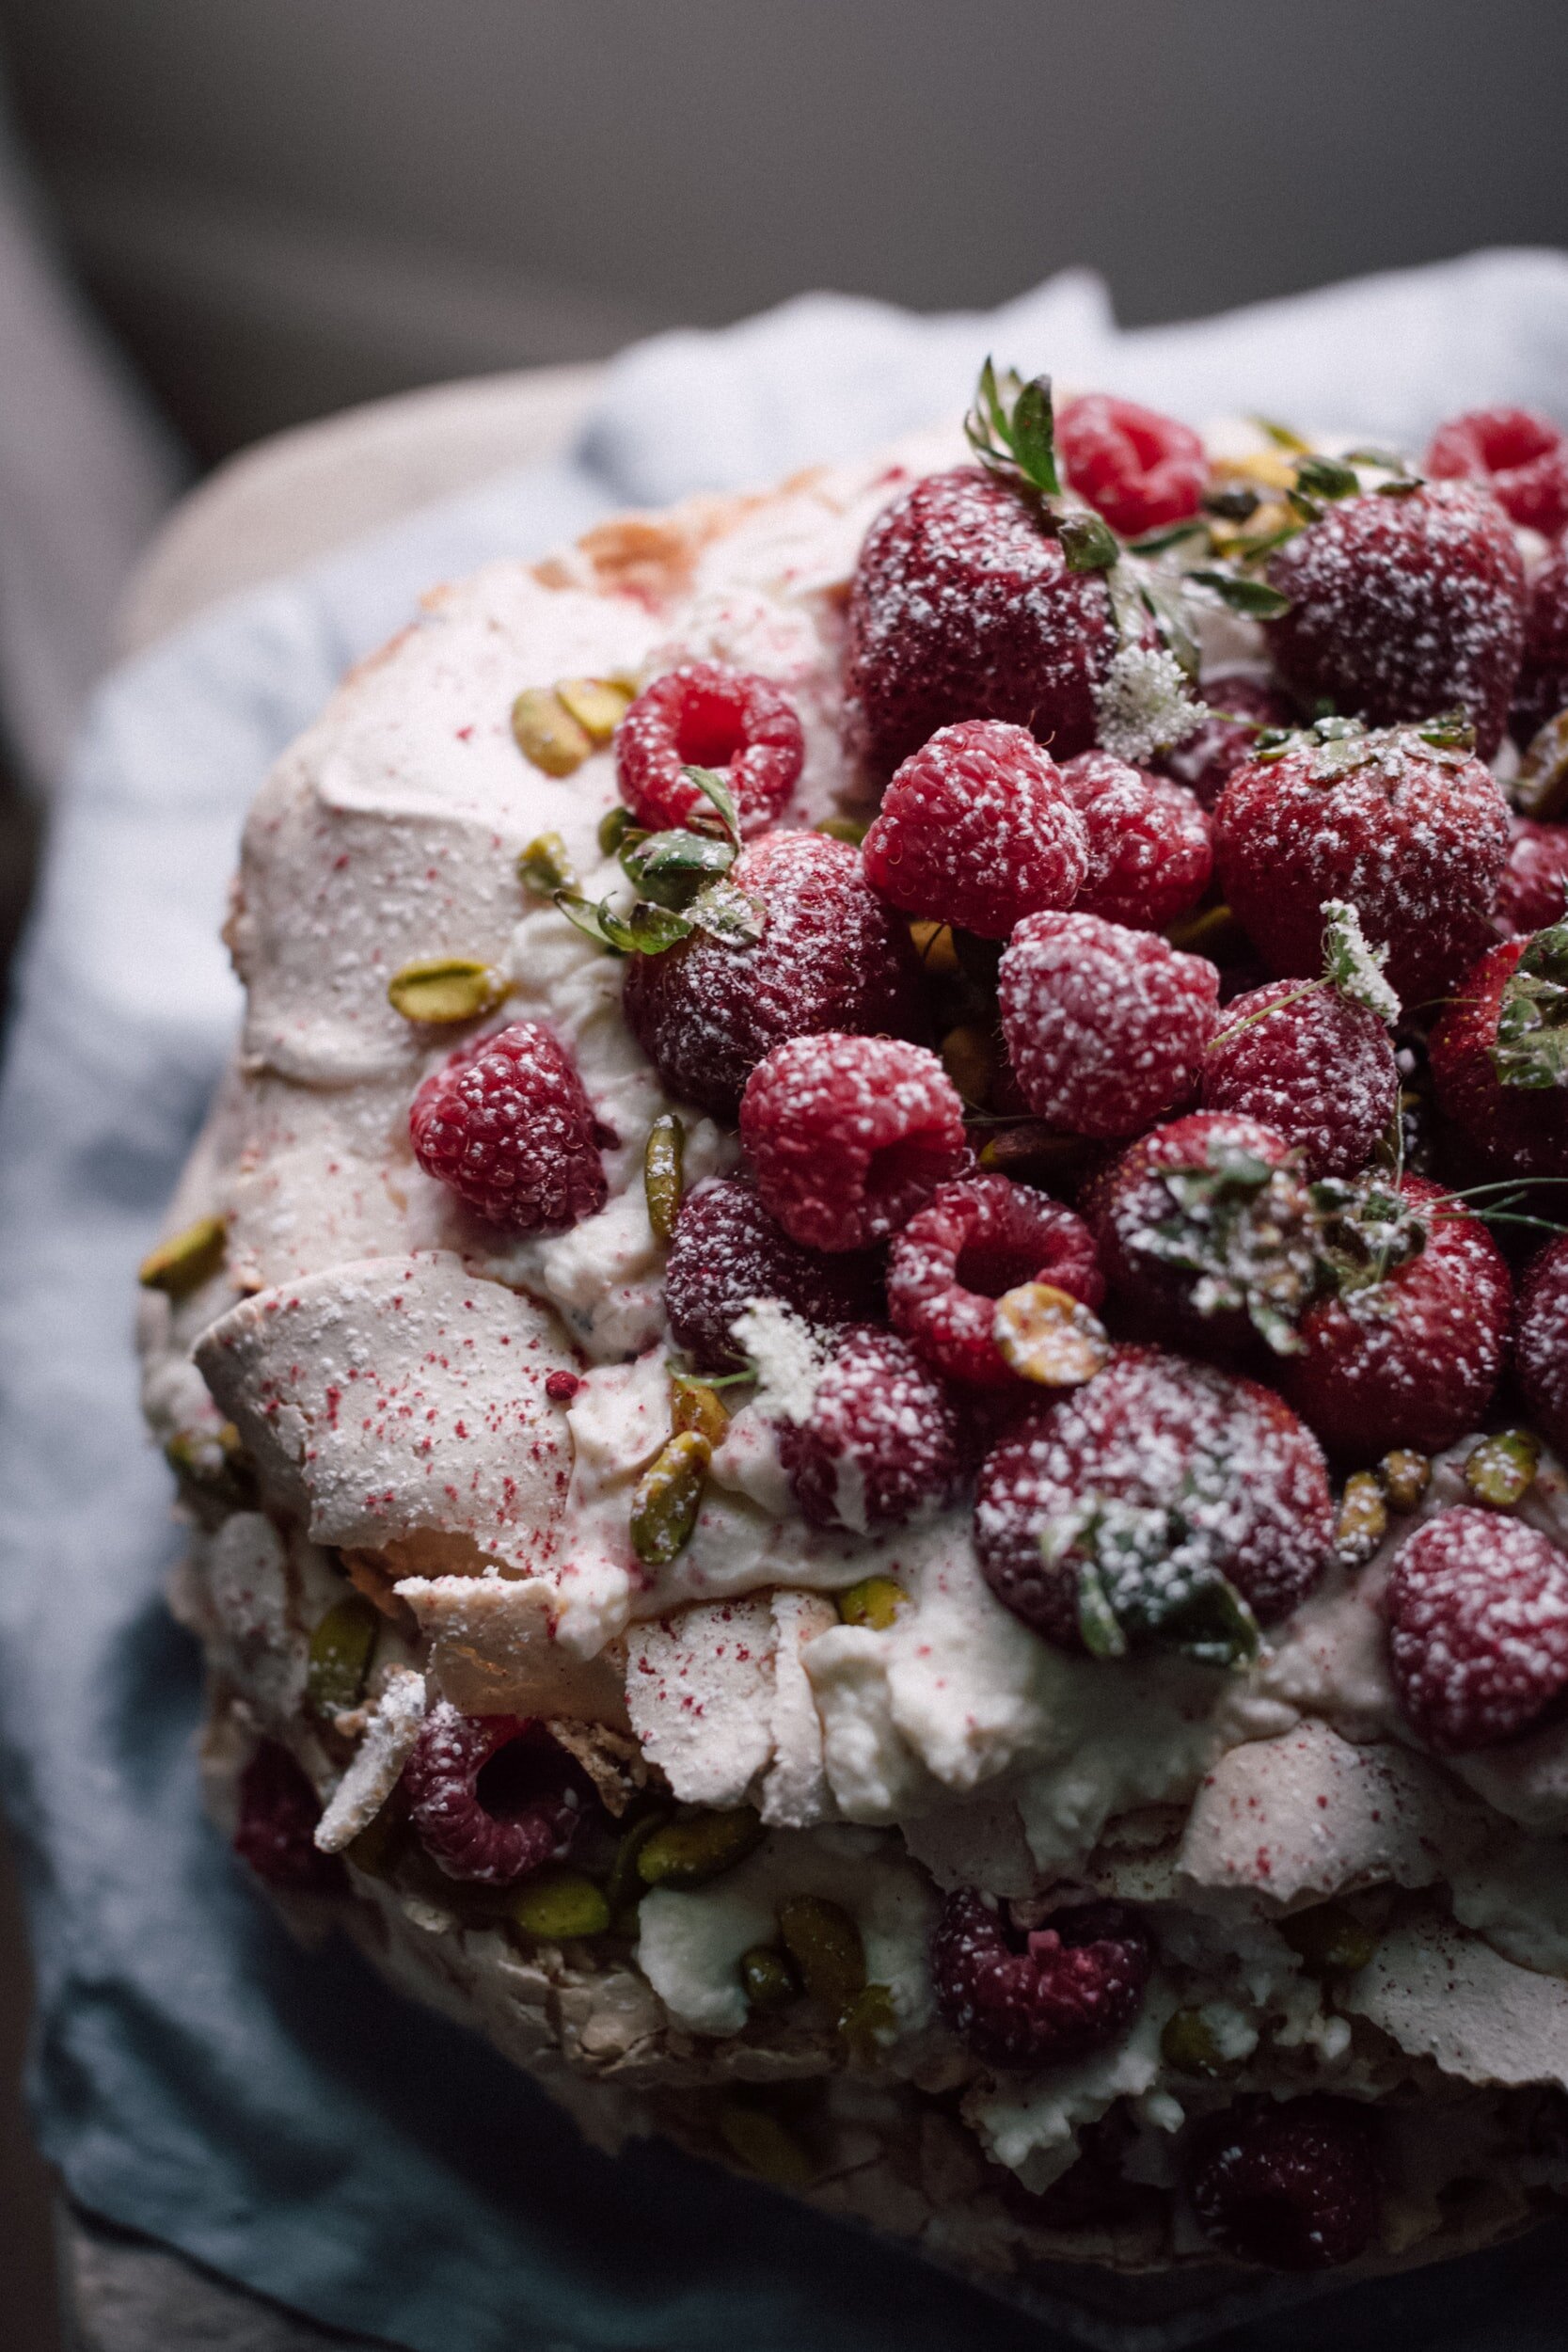
Nests, quinelles & pavlovas.
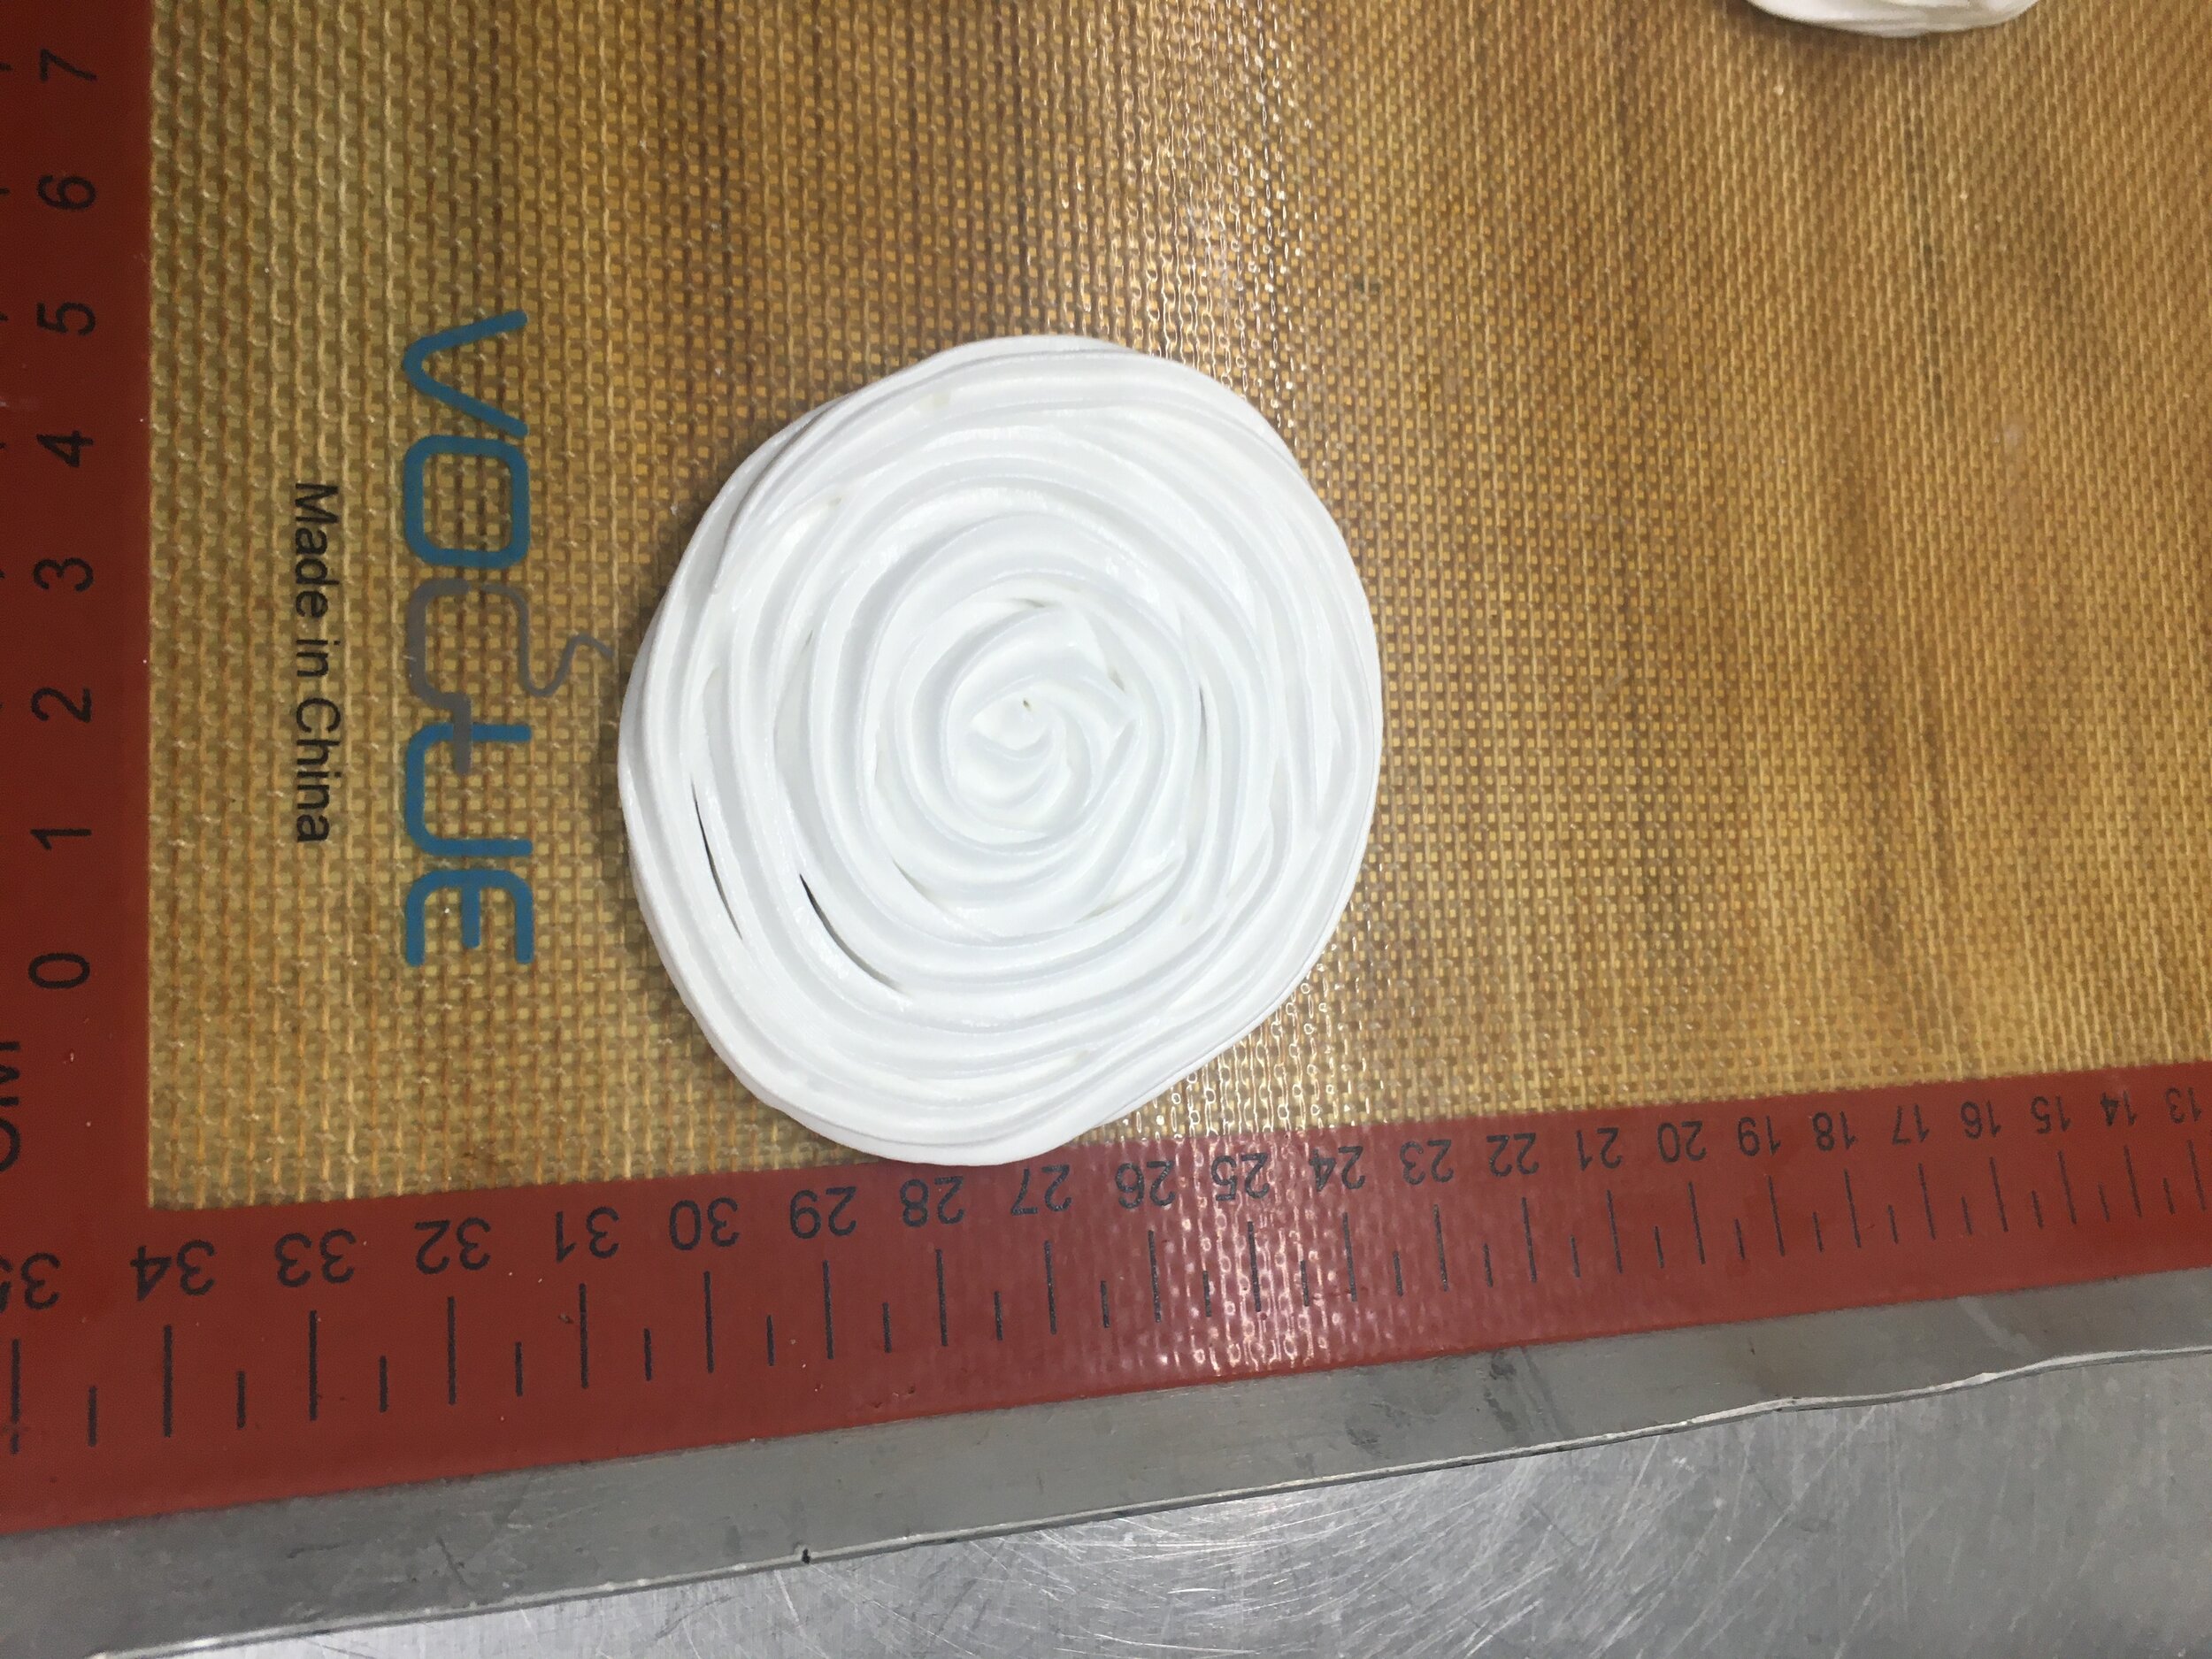
Pipe dreams.
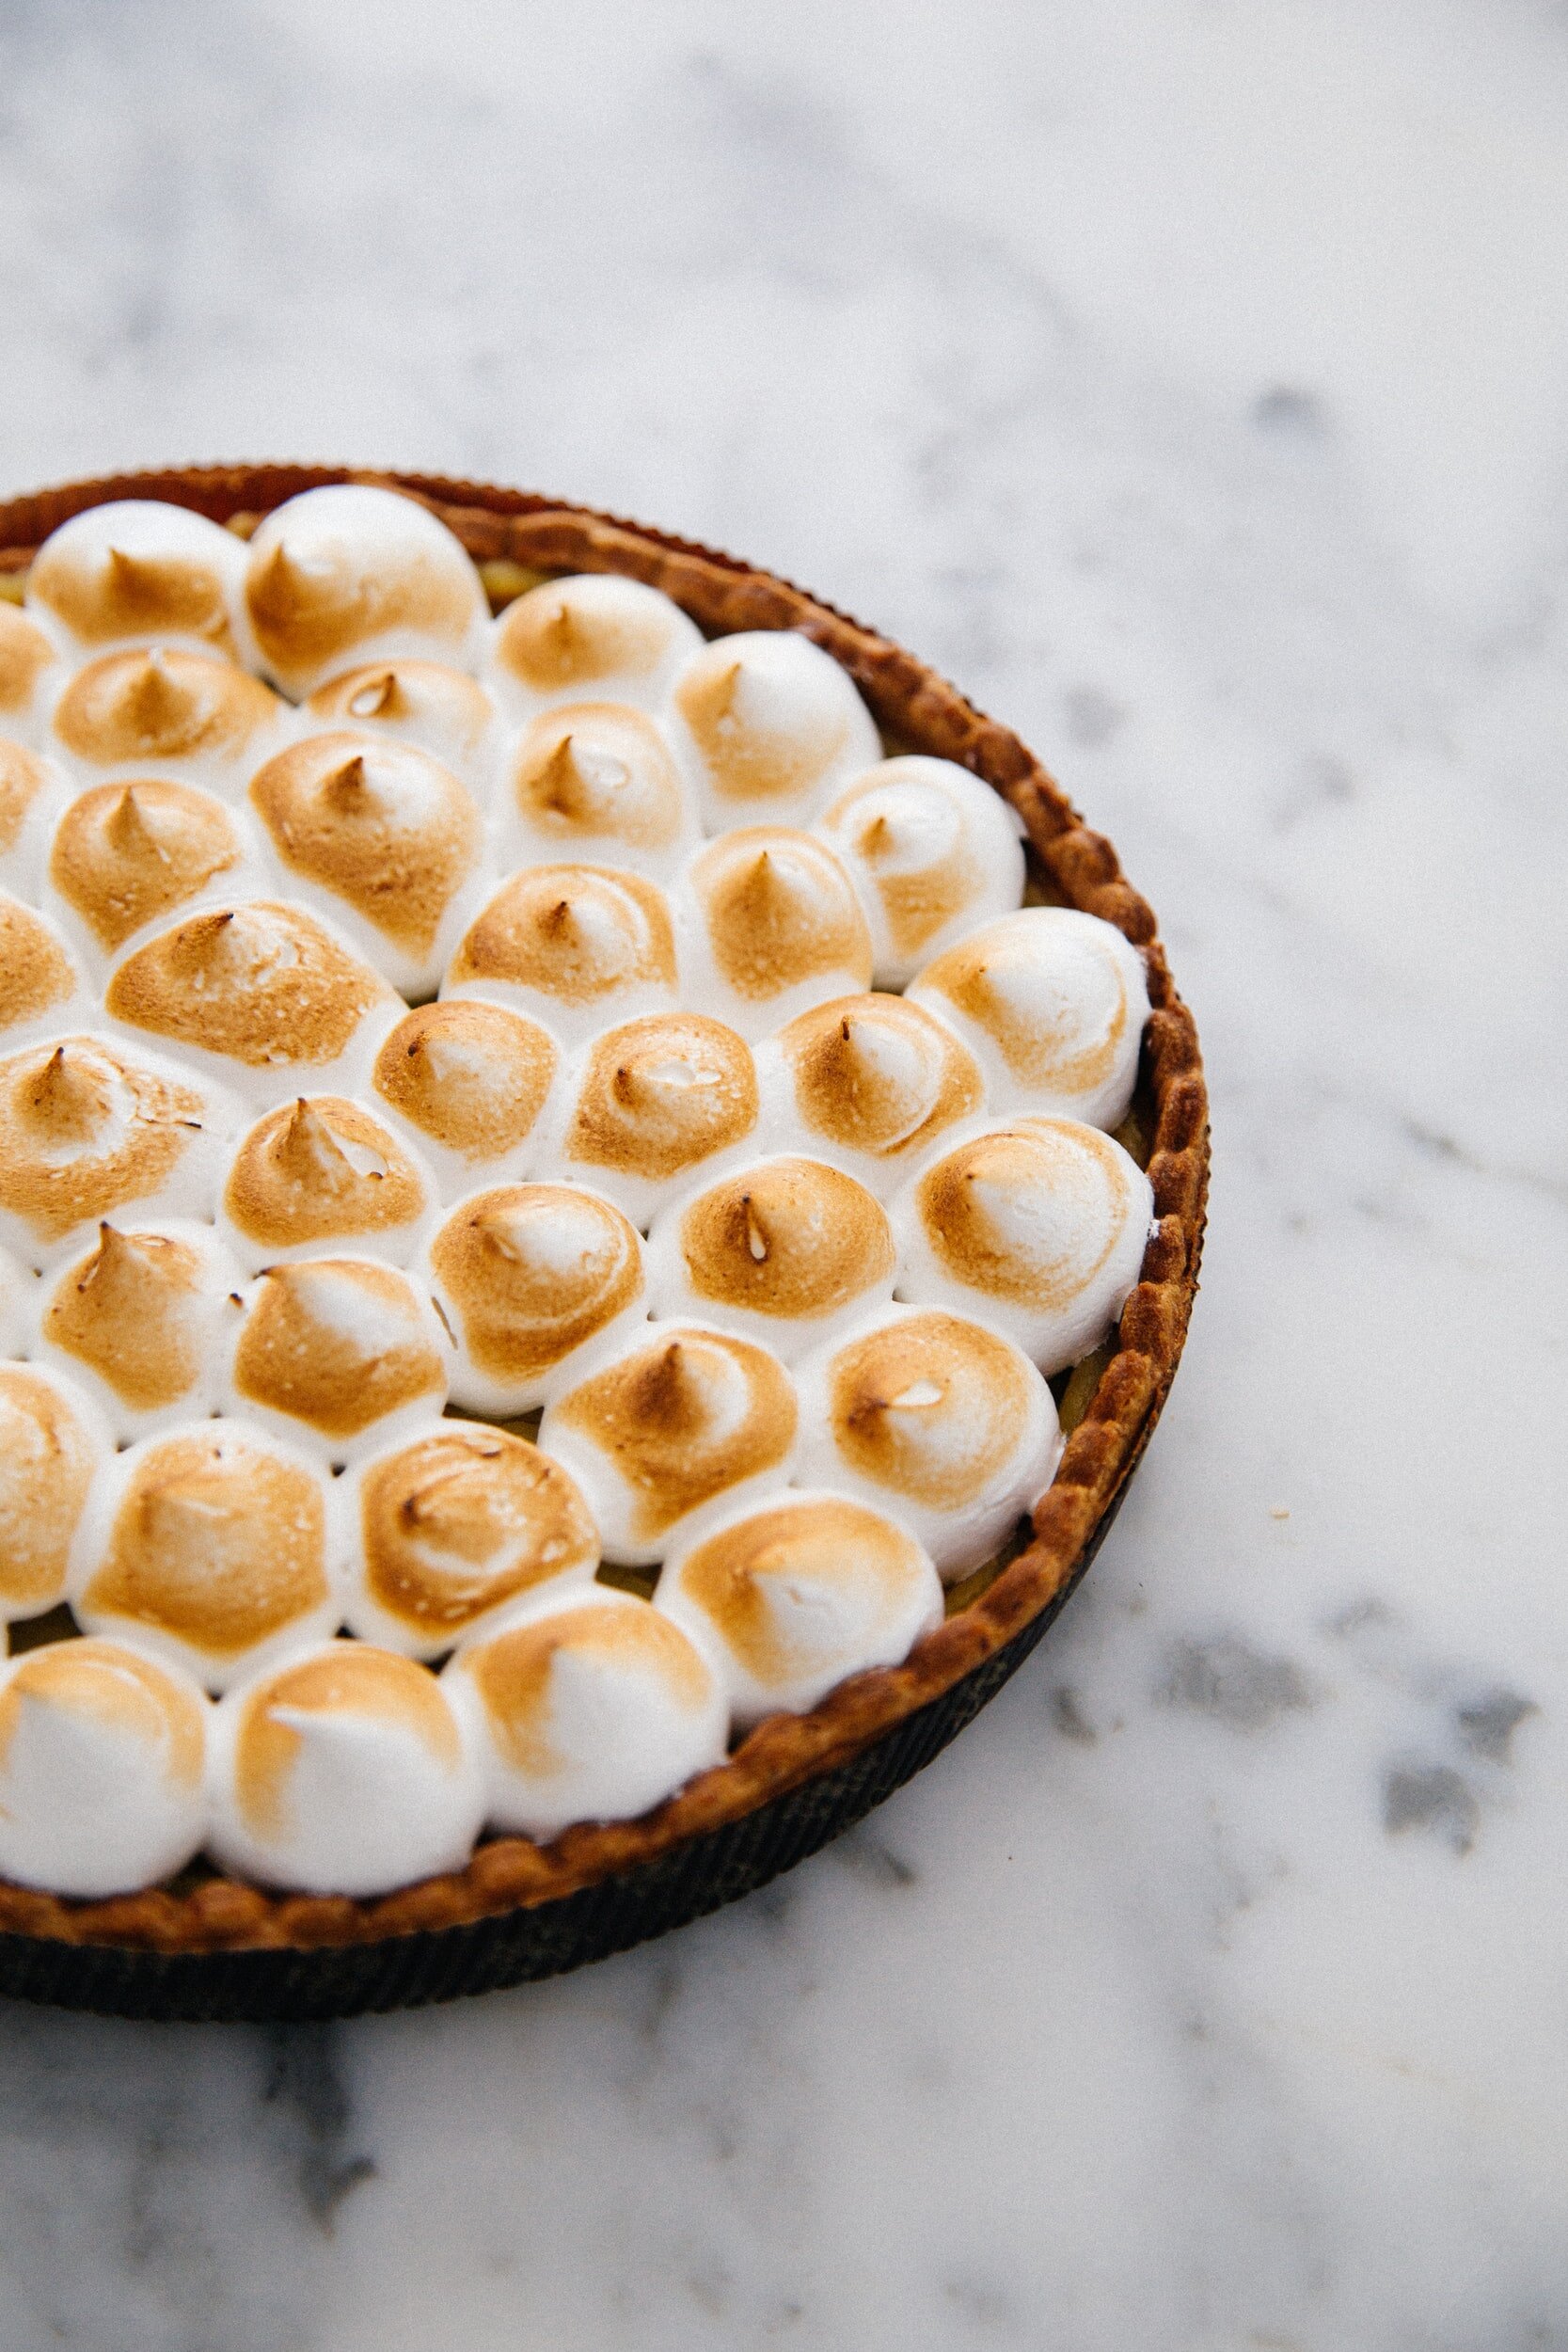
Sweet kisses large & small, tart & pie toppings and your imagination.


Temperature and final structure
The temperature you cook your meringues at will determine the colour, overall texture and chewiness of the meringue. Sugar dissolved in the foam clings onto the water molecules and in doing so delays their release and evaporation in the high heat until after the ovalbumin in the white has had time to coagulate, reinforcing and strengthening the raw foam. It eventually contributes its own reinforcement in fine, dry strands of sugar as it cooks.
The accepted temperature for cooking meringues is around 93ºc. The meringue doesn’t so much bake as dry slowly at this temperature. Meringues cooked this way will stay brilliant white when cooked and will have a dry, brittle texture and will hold their shape very well.
Cooking meringues for a short time at a higher temperature - anywhere up to around 150ºc, before turning the oven back down to finish the cooking process will give opposite results. The meringue will take on a slightly caramel tinge, have puffed up and cracked edges and will have a chewy sticky interior. Cooking meringue this way is especially good for pavlovas.
Recipes
French meringue
Click here for our french meringue recipe.
Chocolate meringue
Click here for our chocolate meringue recipe.
Italian & Swiss meringue
Click here for our Italian meringue recipe.
Click here for our Swiss meringue recipe.
Brown sugar meringue
Click here for our brown sugar meringue.
Aquafaba meringue
Click here for our Vegan aquafaba meringue recipe.
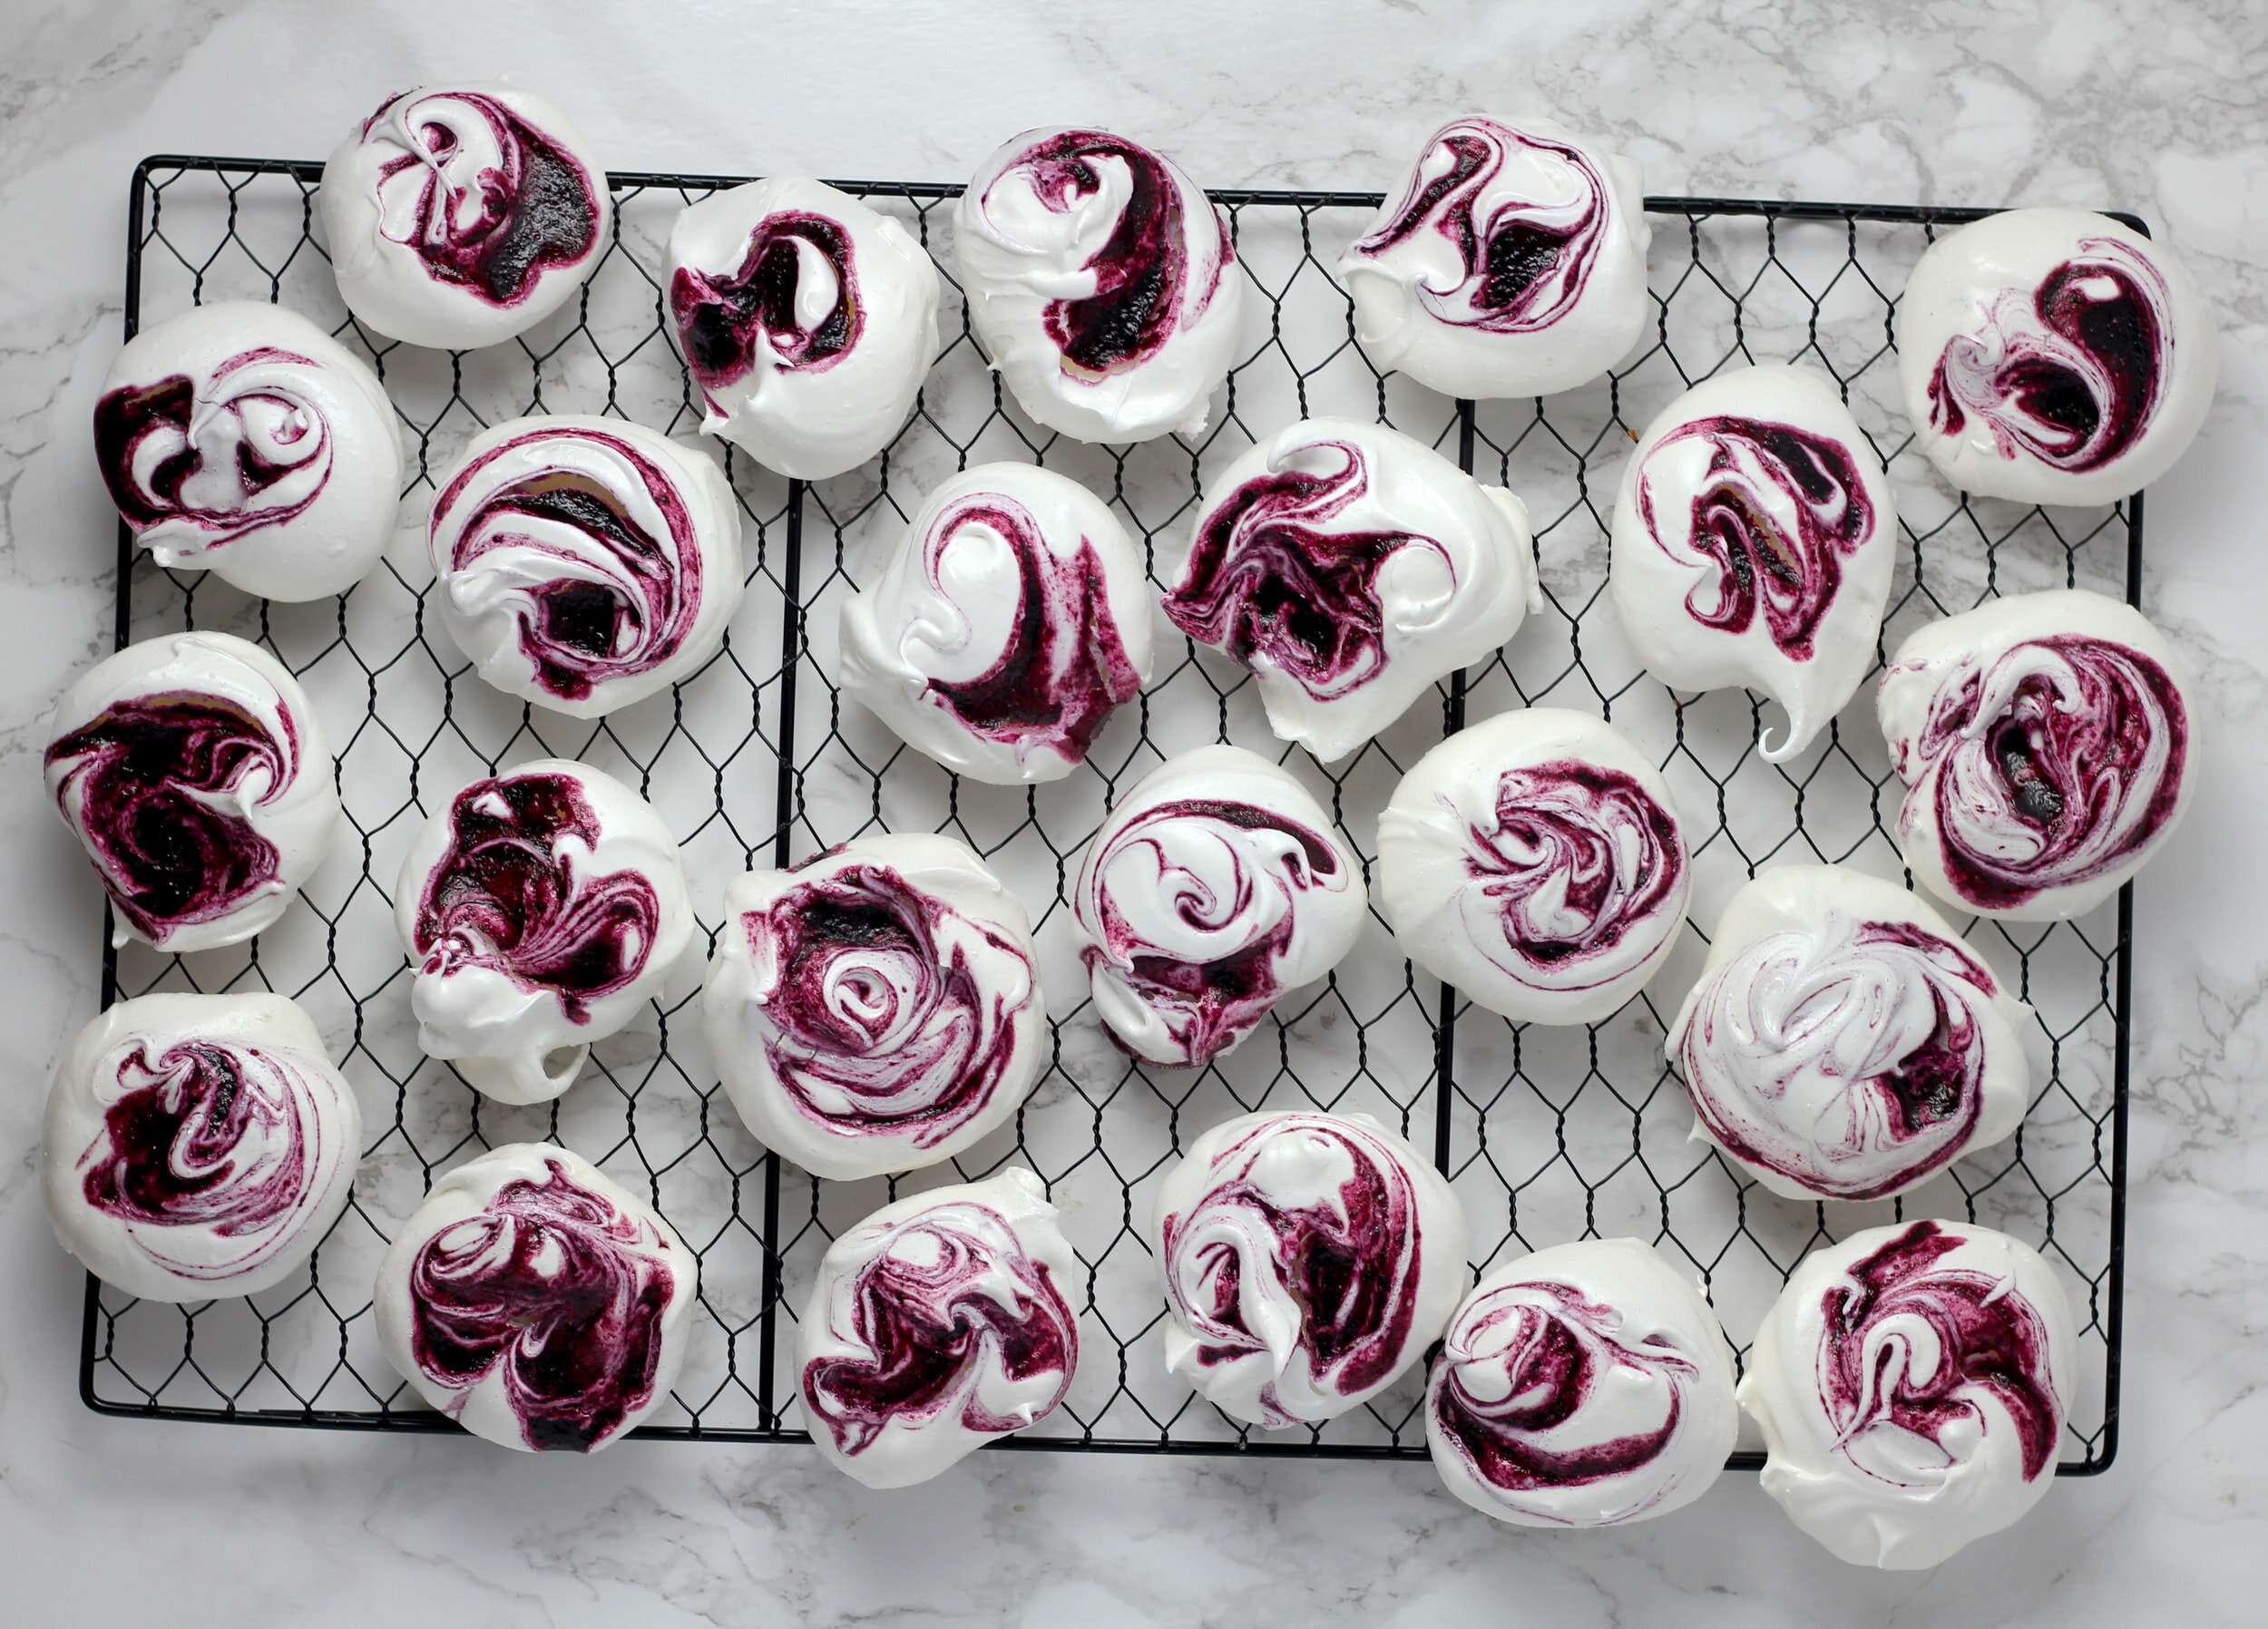
Flavoured meringues
For flavoured meringues try adding fruit purees, raspberry coulis or a strong shot of espresso to your meringues to add flavour and streaks of colour. Get creative and experiment with different flavours.
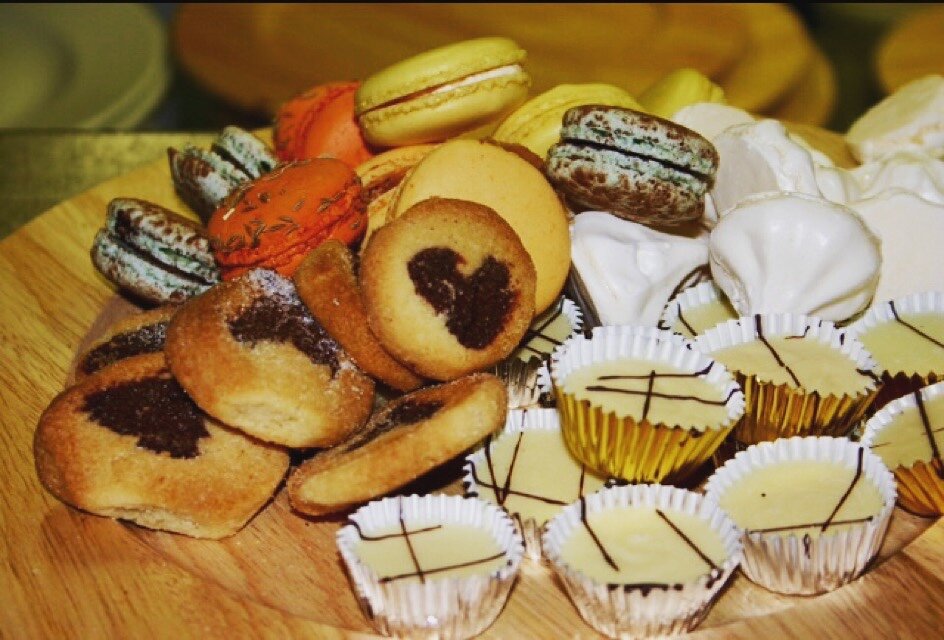
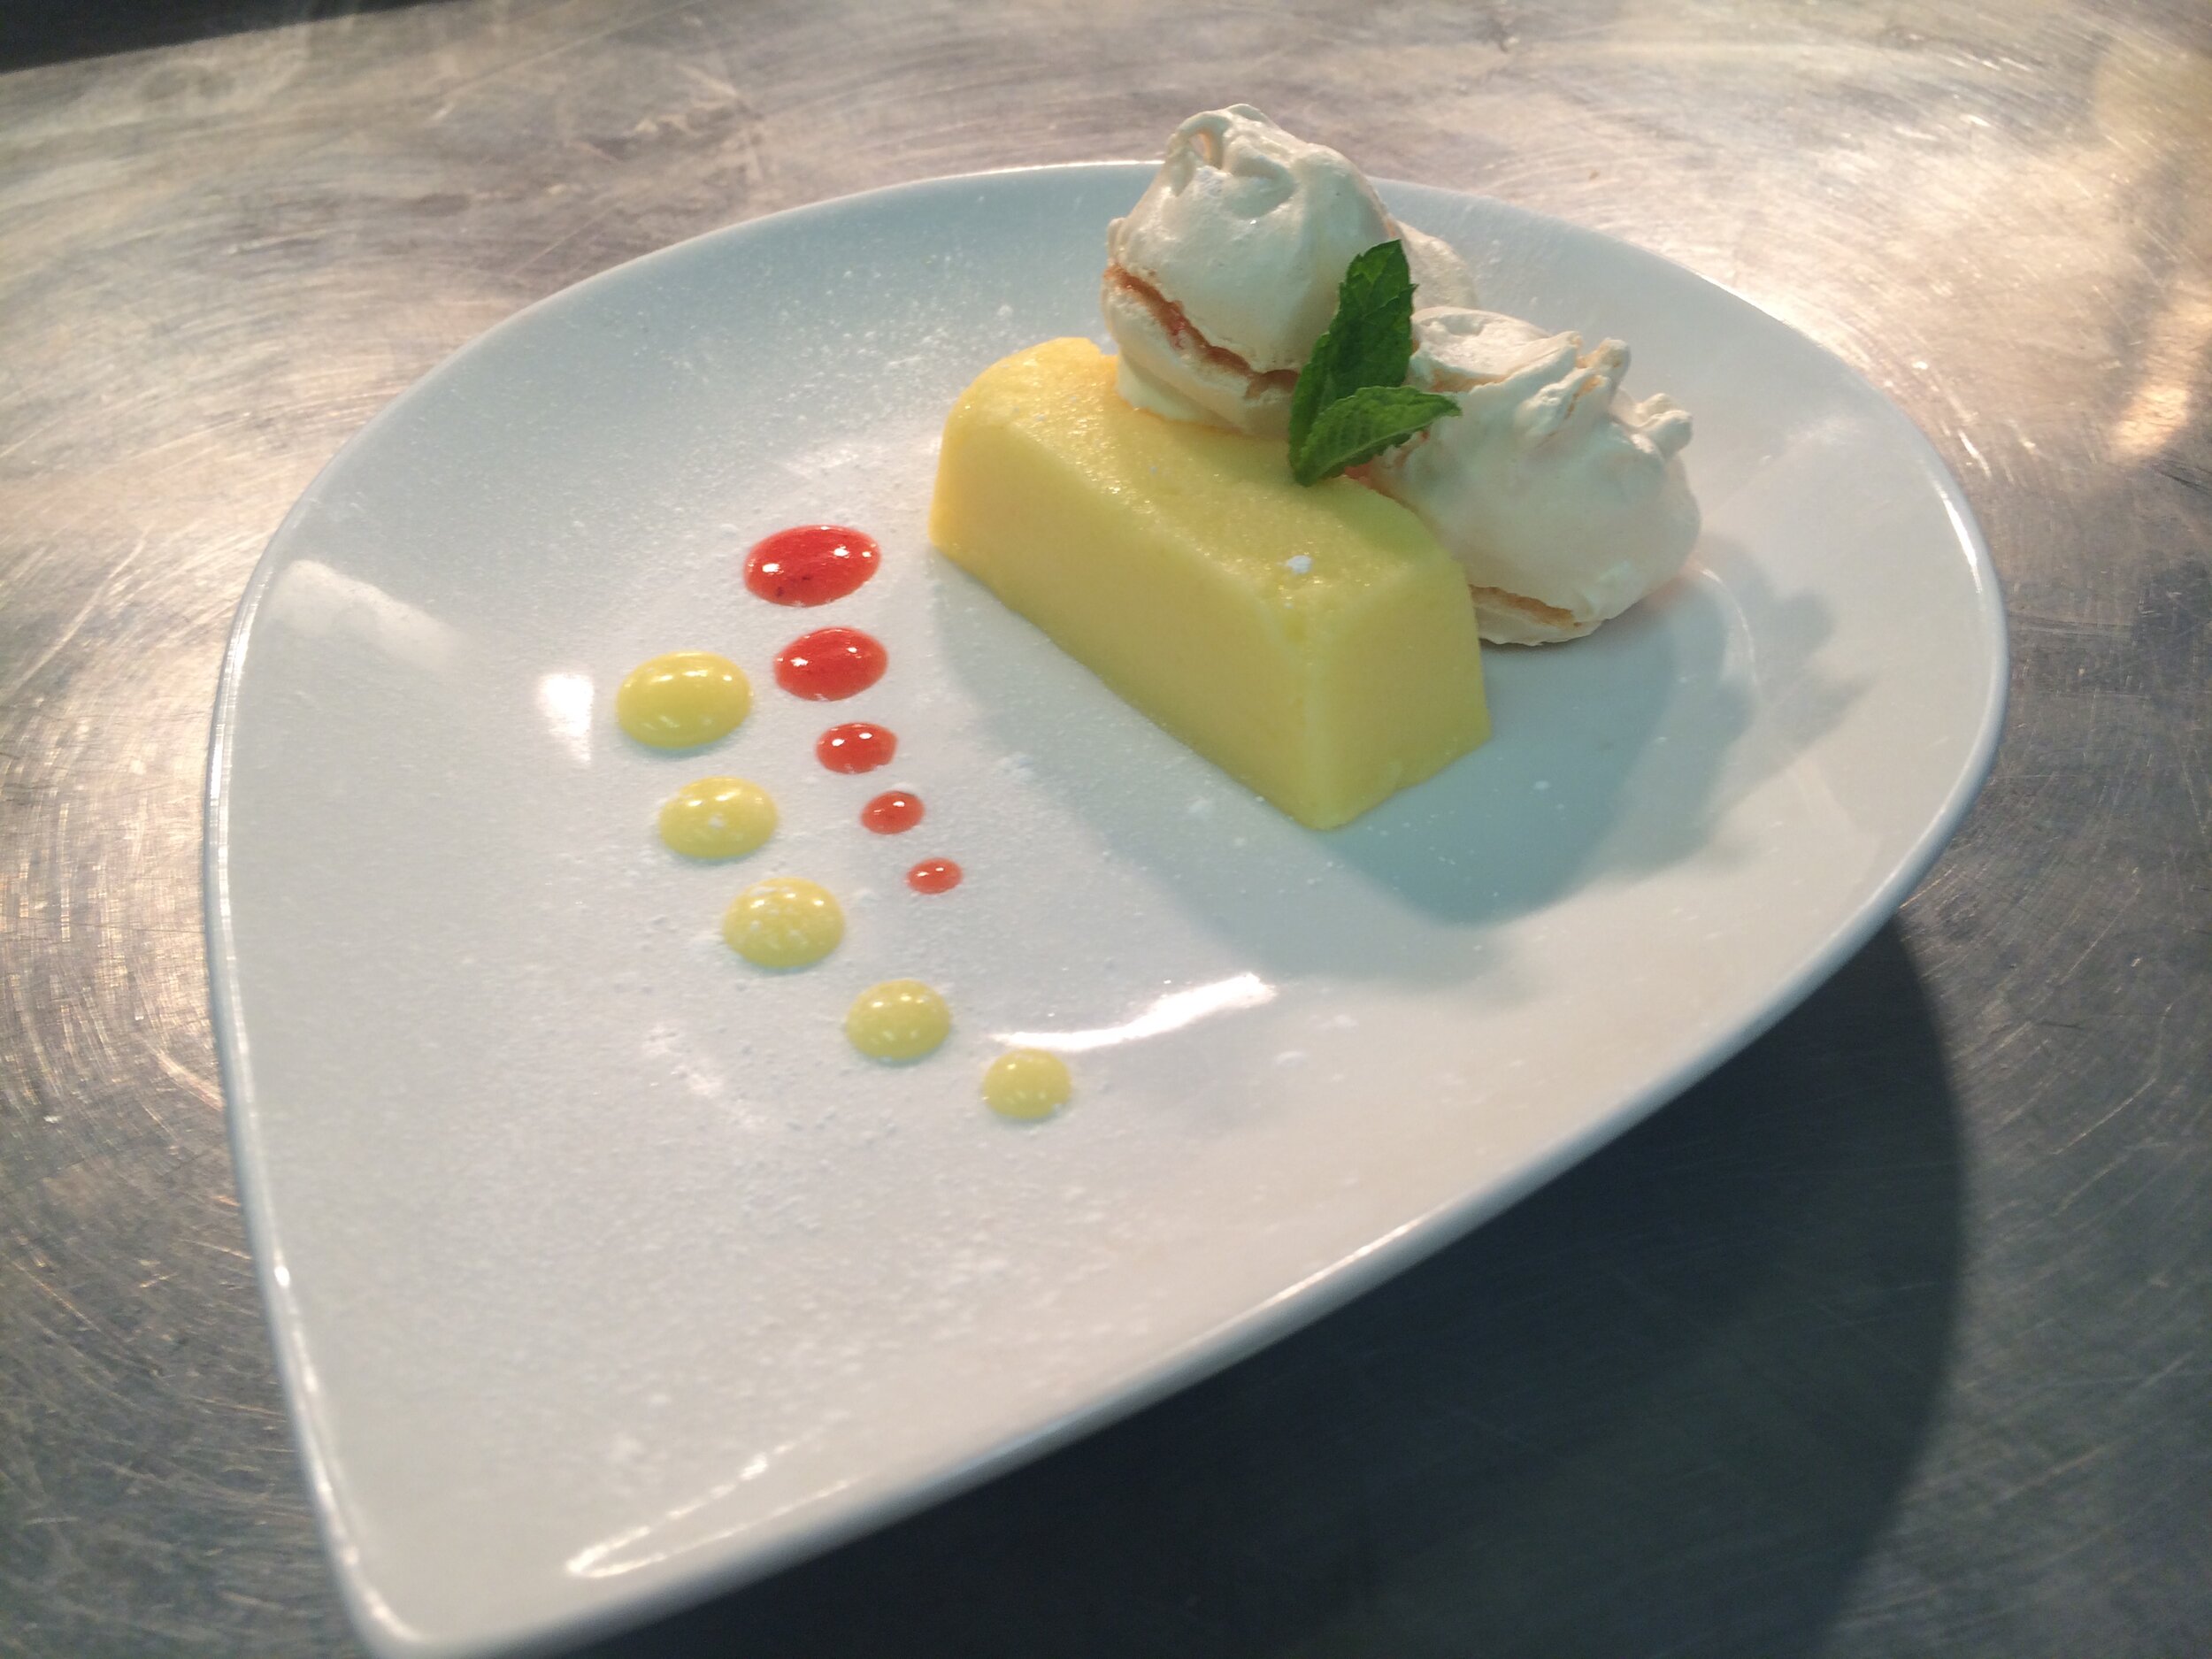
Some inspiration & dish ideas
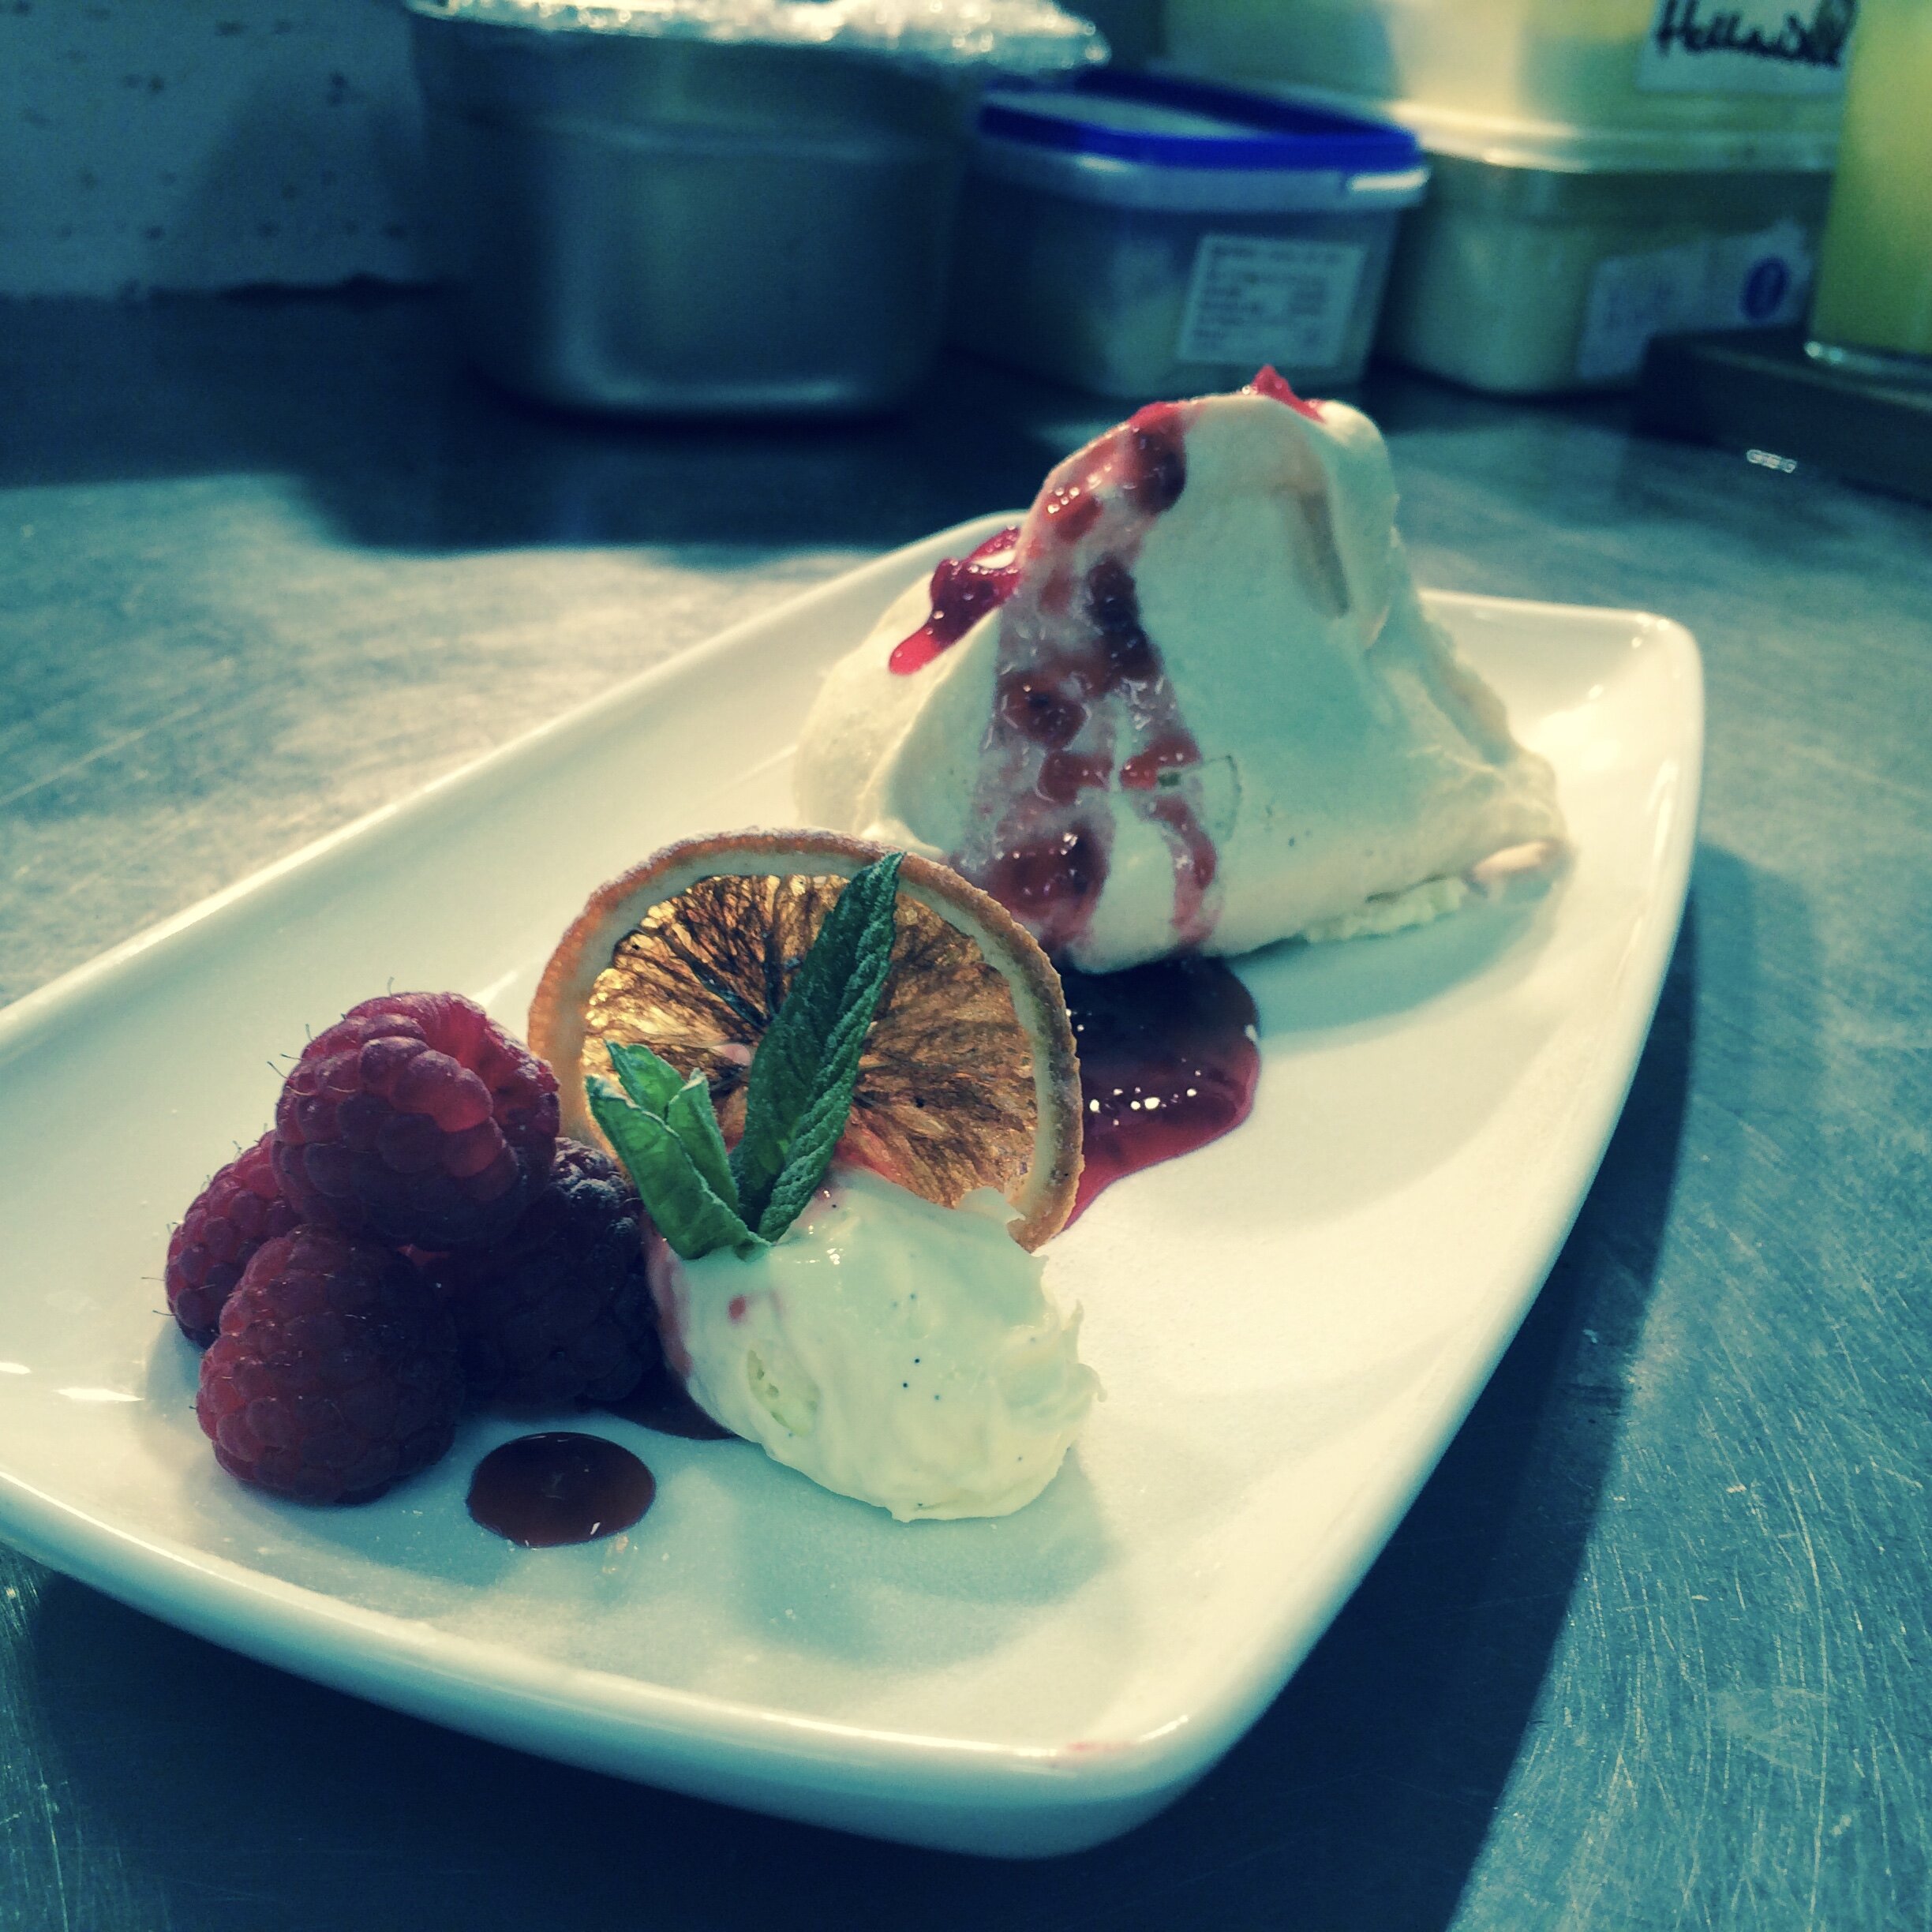

Thanks for checking out the lesson, I hope it has been helpful, easy to follow and that you learnt something and feel inspired to experiment more with meringues. As with all kitchen skills, practice is the key to mastery. With enough practice you’ll be a piping master, and the best thing is, like so many kitchen skills it transfers. So the next time you ice a cake or pipe choux pastry you’ll be better at that too. Result.
— Dan